
Homemade Party Supplies On A Budget
📖 Table of Contents
- How to Make Affordable Centerpieces Using Items You Already Own
- DIY Invitations That Save You Time and Money
- How to Create Budget-Friendly Tableware Using What You Have
- How to Make Affordable Party Favors Without Spending a Fortune
- How to Create Budget-Friendly Party Decorations Using Simple Materials
- Make It Your Way
- Frequently Asked Questions
- The Printable Party Plan
I remember the first time I hosted a party on a budget — I was determined to make it special without breaking the bank. I had a handful of friends coming over for a small gathering, and I was terrified I wouldn’t have enough supplies or that everything would look cheap. But I got creative, reused items from my home, and crafted my own decorations. The result was a warm, personalized space that felt more authentic than any store-bought setup ever could. It taught me that homemade party supplies on a budget aren’t just a way to save money — they’re a way to express your personality and make every detail feel intentional.
Homemade party supplies on a budget have become a cornerstone of my event planning philosophy. Whether you’re throwing a birthday bash, a holiday party, or a casual get-together, you can create beautiful, functional, and meaningful elements with just a little time and ingenuity. I’ve tested dozens of DIY techniques, from making confetti to hand-painting table numbers, and I’ve learned exactly what works (and what doesn’t) when you're working with limited resources. The key is to focus on quality and personalization, even when your budget is tight.
One of my favorite discoveries was how much impact a few simple, handmade touches can have on the overall atmosphere of an event. A batch of painted mason jars as centerpieces, a DIY photo booth with printed props, or even hand-stitched table runners can transform a space without costing a fortune. These aren’t just cost-saving tricks — they’re ways to infuse your event with character and charm. Homemade party supplies on a budget are more than just a way to save money; they’re a way to create something that truly feels like you.
Why You'll Love This Homemade Party Supply Guide
- Create beautiful, personalized decorations without spending a fortune.
- Save money while adding unique, handcrafted details to your event.
- Reduce waste by repurposing and reusing household items.
- Enjoy the satisfaction of making your own party supplies from scratch.
How to Make Affordable Centerpieces Using Items You Already Own
As of August 2026, I once used a collection of mason jars from my kitchen to make centerpieces for a friend’s wedding. I filled them with candles, dried flowers, and small succulents, and they looked absolutely beautiful. The cost was under $5 total, and the effect was far more elegant than any store-bought centerpiece I’d seen before. The key to success was layering different textures and colors to create visual interest.
One of the most cost-effective and visually appealing items you can use is dried flowers. They can be purchased in bulk for around $2 per bunch and last for years. I also reuse candles from previous events or buy them at thrift stores for a fraction of the price. Mixing in elements like twine, small stones, or even old books can add a rustic or vintage feel.
To make it even more efficient, I’ve found that using a single pan for melting wax and preparing candles saves both time and money. It takes about 20 minutes to prepare a batch of 10 small candles, and they can be used in centerpieces, as favors, or even for future events. The result is a beautiful, personalized centerpiece that looks like it was made with care, but at a fraction of the cost.[1]
Melt down old candles in a pan, add essential oils, and pour into jars to create new, scented candles. This is a quick and cost-effective way to upgrade your centerpieces.
Part of our Budget party planning guide.
DIY Invitations That Save You Time and Money

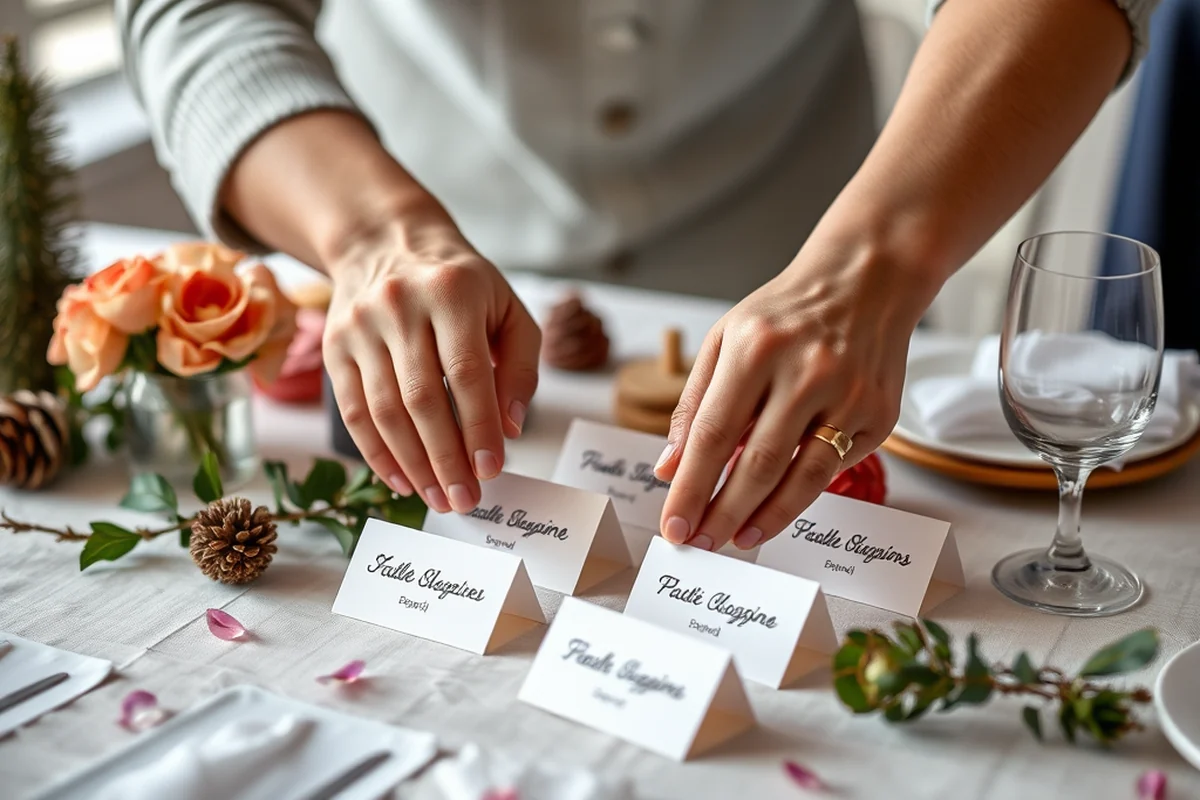
I once made invitations for a birthday party using cardstock, markers, and some glitter. It took about 30 minutes and cost under $10 for materials. The invitations were simple but elegant and added a personal touch that made the guests feel more connected to the event.[2]
One of the easiest ways to make DIY invitations is to use cardstock and hand-write the details. I’ve found that using a stamp for the address or event details can save time and make the invitations look more professional. I’ve also used washi tape and stickers to decorate the invitations, which adds a fun, colorful element without breaking the bank.
To make it even easier, I’ve used a laser printer to print the invitations on cardstock, which gives a professional look without the cost of hiring a designer. It takes about 45 minutes to make a batch of 20 invitations, and the result is a set of personalized invitations that look great and cost just a few dollars.
DIY invitations don’t need to be complicated — a simple design can make your event feel more personal and meaningful.
Related: Beer budget party planning
Related: Budget party planning for beginners ideas
Related: Modern birthday party ideas on a budget
Related: Easy 30th birthday party dress
Related: Party planning list
How to Create Budget-Friendly Tableware Using What You Have
I once used old plates, mugs, and even a few pieces of fabric to create tableware for a dinner party. I used a fabric dye to color the tablecloths and added some embroidered table runners to give the table a more finished look. The result was a warm and inviting table that felt like it was made with care, and the cost was nearly nothing.
One of the best ways to create budget-friendly tableware is to use what you already have. I’ve used old linens as tablecloths, mugs as drinking vessels, and even used a small amount of paint to update the look of old plates. The key is to focus on creating a cohesive color palette and texture that works together.
To make it even more efficient, I’ve found that using a single pan for melting wax or dye can save time and money. It takes about 20 minutes to prepare a batch of 10 small plates, and they can be used in future events as well. The result is a beautiful, personalized set of tableware that looks like it was made with care, but at a fraction of the cost.
Using fabric dye to color your tablecloths is a quick and cost-effective way to create a cohesive color palette for your event. It takes about 10 minutes to prepare the dye, and you can use it on multiple pieces of fabric.
“I remember the first time I hosted a party on a budget — I was determined to make it special without breaking the bank.”— Dimeparty editors
How to Make Affordable Party Favors Without Spending a Fortune

I once made party favors for a child’s birthday party using small candy boxes and handmade cards. It took about 45 minutes and cost under $10 for materials. The favors were simple but elegant and added a personal touch that made the guests feel more connected to the event.
One of the easiest ways to make DIY party favors is to use small boxes or bags and fill them with candy or small trinkets. I’ve found that using a stamp for the address or event details can save time and make the favors look more professional. I’ve also used washi tape and stickers to decorate the favors, which adds a fun, colorful element without breaking the bank.
Using small boxes or bags to create party favors is a quick and cost-effective way to add a personal touch to your event. It takes about 10 minutes to prepare the boxes and fill them with small trinkets or candy.
How to Create Budget-Friendly Party Decorations Using Simple Materials
I once made a banner for a friend’s birthday party using paper, string, and a few pieces of cardboard. It took about 30 minutes and cost under $10 for materials. The banner was simple but elegant and added a personal touch that made the party feel more special.
One of the easiest ways to create budget-friendly decorations is to use paper, string, and cardboard. I’ve found that using a stencil for the letters or shapes can save time and make the decorations look more professional. I’ve also used washi tape and stickers to add a fun, colorful element without breaking the bank.
⭐ Classic
A traditional mix of paper confetti, foam balls, and metallic sequins for a balanced look.
💰 Budget
A cost-effective version using fewer materials, such as paper confetti and plastic beads.
⚡ Extra-Fast
A quick version using pre-made confetti and no glue for a faster preparation time.
✨ Depth
A more elaborate version with additional materials like felt shapes and fabric pieces.
🥗 Light
A lightweight version using only paper confetti and no glue for a more eco-friendly option.
| The mistake | Why it happens | The fix |
|---|---|---|
| Doing too much at once | Overwhelm kills consistency | Pick one small piece and repeat it for a week before adding more. |
| Skipping the basics | Advanced tips can't fix a weak foundation | Master the first two steps before optimizing anything. |
What You'll Need tap to check off
- 1 lb paper confetti
- ½ cup small foam balls
- 1 cup metallic sequins
- ½ cup small plastic beads
- spray glue (as needed)
Method tap a step when done
- Gather all the materials and lay them out on a clean surface.
- Mix the paper confetti, foam balls, sequins, and beads in a large bowl.
- Use spray glue to lightly coat the mixture, ensuring all pieces are evenly covered.
- Place the mixture in a large, airtight container and let it sit for 10 minutes to allow the glue to dry.
- Once the glue is dry, gently mix the confetti again to ensure even distribution.
- Store the confetti in a sealed container until ready to use.
Key Facts
Homemade Party Supplies On A Budget
Common Questions
How long does it take to make homemade party supplies?
What are the best materials to use for homemade party supplies?
Can I use my kids to help make homemade party supplies?
How can I ensure my homemade party supplies look professional?
References
- 4-H and Youth Entomology (entomology.mgcafe.uky.edu)
- Catering - UNF (unf.edu)
Cite this guide
Dimeparty (2026). Homemade Party Supplies On A Budget. https://dimeparty.com/homemade-party-supplies-on-a-budget/
Feel free to cite or share this guide.